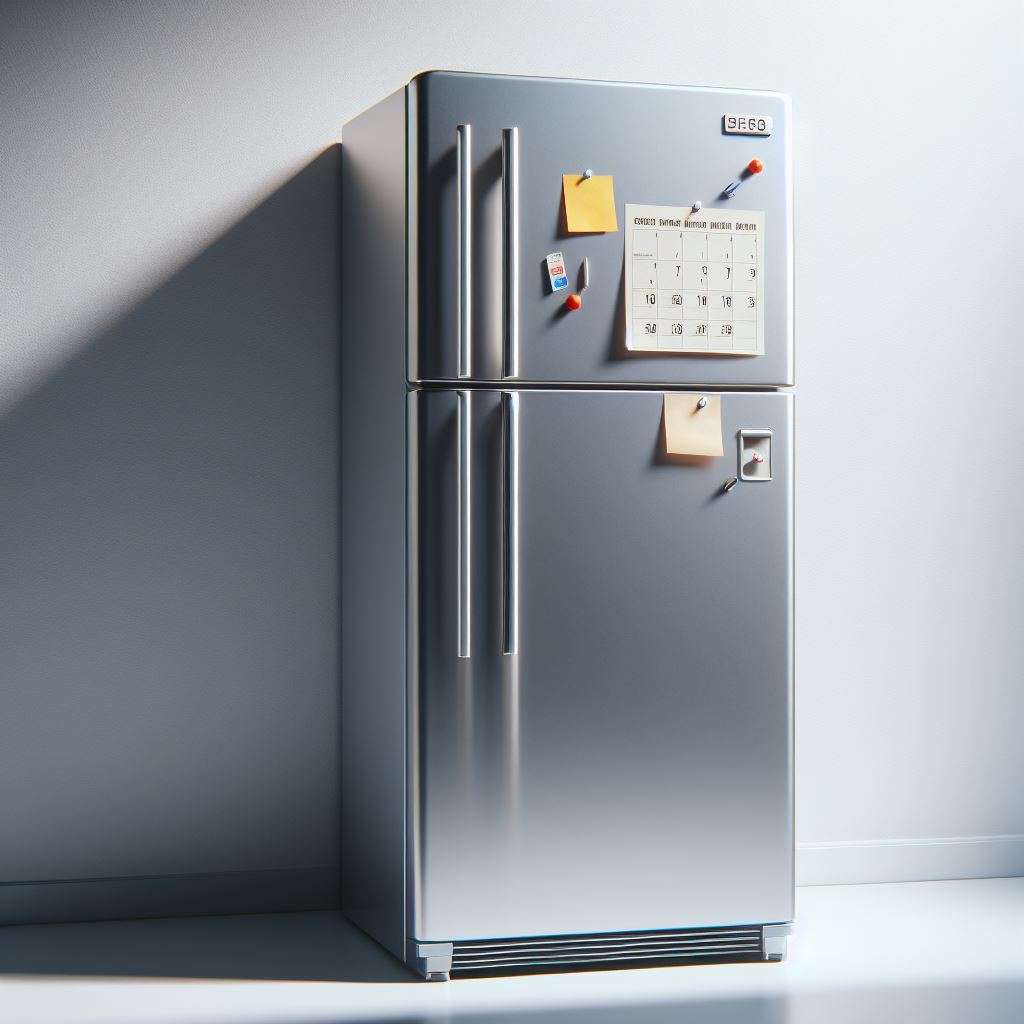
Are you looking to give your refrigerator a fresh new look? Painting your refrigerator can be a fun and creative way to update its appearance and add a pop of color to your kitchen. In this guide, we will walk you through the steps of how to paint a refrigerator in a way that is easy to understand and follow, so you can achieve a professional-looking finish that will make your appliance stand out. Let’s get started on transforming your fridge with a fresh coat of paint!
Painting a refrigerator can be a fun and cost-effective way to update the look of your kitchen. Whether you want to match your fridge to your existing decor or simply give it a fresh new look, painting can be a great option. Here are some steps to help you successfully paint your refrigerator.
1. Choose the right paint: When it comes to painting a refrigerator, it is important to use the right type of paint. Look for a high-quality, durable paint that is specifically designed for use on metal surfaces. You can choose from a variety of finishes, such as glossy, matte, or satin, depending on the look you want to achieve.
2. Clean the refrigerator: Before you start painting, you will need to thoroughly clean the surface of the refrigerator. Use a mild detergent and water to remove any dirt, grease, or residue. Make sure to dry the refrigerator completely before moving on to the next step.
3. Remove any hardware: If your refrigerator has any removable parts, such as handles or shelves, it is best to remove them before painting. This will make it easier to paint the entire surface of the refrigerator and ensure a more professional-looking finish.
4. Prime the surface: To ensure that the paint adheres properly to the refrigerator, it is important to apply a coat of primer. Choose a primer that is compatible with the paint you are using and apply it evenly to the surface of the refrigerator. Let the primer dry completely before moving on to the next step.
5. Paint the refrigerator: Once the primer has dried, you can begin painting the refrigerator. Use a paintbrush or roller to apply the paint in thin, even coats. Make sure to allow each coat to dry completely before applying the next one. Depending on the color and coverage you desire, you may need to apply multiple coats of paint.
6. Let the paint dry: After you have finished painting the refrigerator, allow the paint to dry completely before reattaching any hardware or putting the fridge back in place. This will help prevent smudges or damage to the paint job.
7. Seal the paint: To protect the paint and ensure its longevity, it is a good idea to apply a clear coat sealer over the painted surface. This will help prevent chipping, scratching, and fading over time.
By following these steps, you can successfully paint your refrigerator and give it a fresh new look. Whether you choose a bold color or a subtle finish, painting your refrigerator can be a fun and rewarding DIY project. Just be sure to take your time, follow the instructions carefully, and enjoy the process of transforming your kitchen appliance.


