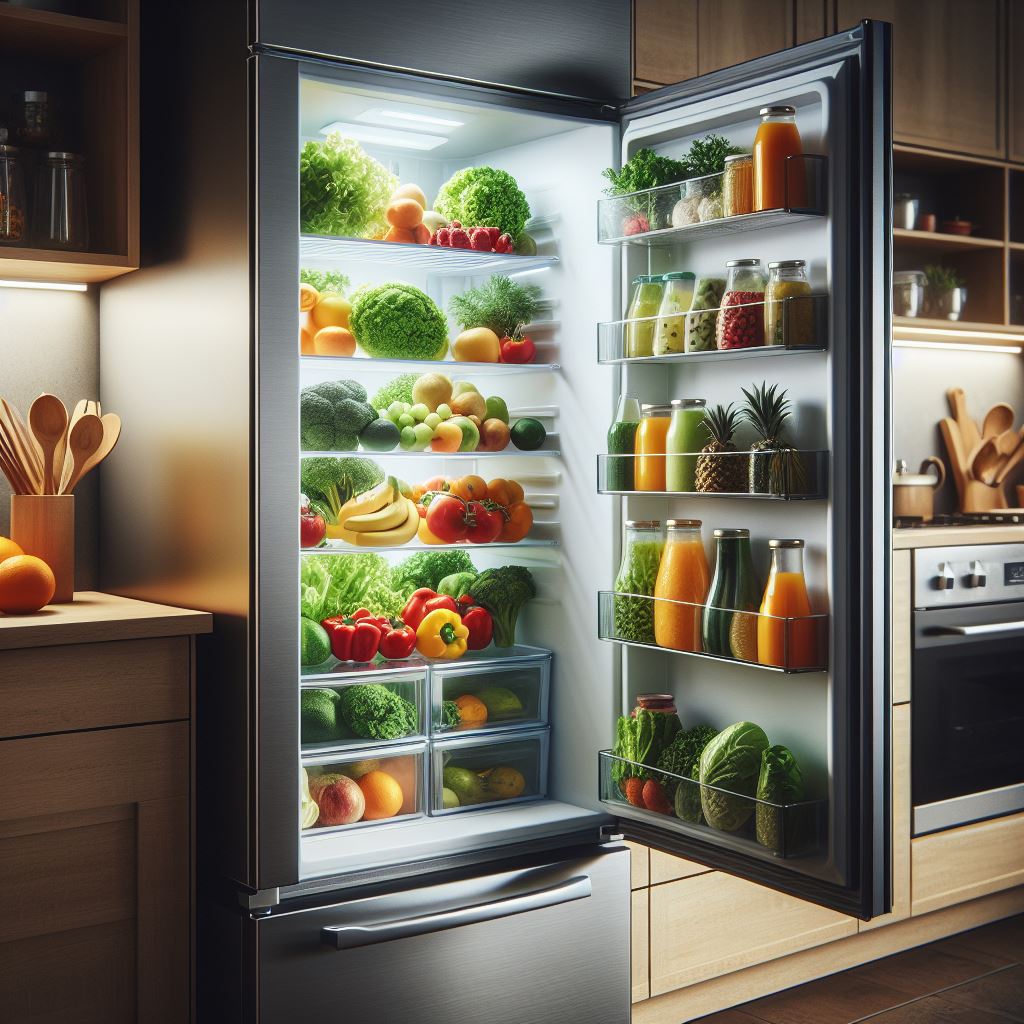
If your Whirlpool refrigerator’s ice maker is not working properly, you may be wondering what is causing the problem and how to fix it. There are several possible reasons why your ice maker may stop making ice or produce too little, too much, or bad-tasting ice.
In this article, I will guide you through some common troubleshooting steps for your Whirlpool refrigerator’s ice maker issue. I will also provide you with some tips on how to prevent future problems and maintain your ice maker in good condition.
By the end of this article, you will be able to identify and resolve the most likely causes of your ice maker issue and enjoy fresh and clean ice from your Whirlpool refrigerator.
What are the benefits of troubleshooting your Whirlpool refrigerator’s ice maker issue?
Troubleshooting your Whirlpool refrigerator’s ice maker issue can have several benefits, such as:
- Saving money and time by avoiding unnecessary service calls or repairs
- Improving the performance and efficiency of your ice maker and refrigerator
- Enhancing the quality and taste of your ice and water
- Extending the lifespan and durability of your ice maker and refrigerator
- Preventing potential damage or leaks to your refrigerator or floor
What are the common causes of Whirlpool refrigerator’s ice maker issue?
Some of the common causes of Whirlpool refrigerator’s ice maker issue are:
- Insufficient or interrupted water supply
- Faulty or clogged water inlet valve
- Dirty or expired water filter
- Defective or misaligned ice maker switch or control arm
- Damaged or malfunctioning ice maker components
- Improper freezer temperature or cycle time
- Poor water quality or cleanliness of the ice maker
- Ice dispenser blockage or jam
How to troubleshoot Whirlpool refrigerator’s ice maker issue?
To troubleshoot Whirlpool refrigerator’s ice maker issue, you need to follow these steps:
Step 1: Check the water supply and the water inlet valve
The first thing you need to do is to check the water supply and the water inlet valve for your ice maker. If there is no water or low water pressure, your ice maker will not be able to produce ice or may produce small or hollow cubes. To check the water supply and the water inlet valve, follow these steps:
- Locate the water shut-off valve behind your refrigerator or under your sink and make sure it is fully open.
- Disconnect the water line from the back of the refrigerator and place it in a bucket or sink.
- Turn on the water valve and check the water flow. If the water flow is weak or nonexistent, you may have a clogged or frozen water line, a faulty water valve, or a problem with the water source.
- If the water flow is strong, reconnect the water line to the refrigerator and proceed to step 2.
Step 2: Check the freezer temperature and the condenser coils
The next thing you need to do is to check the freezer temperature and the condenser coils for your ice maker. If the freezer temperature is too high or too low, it may affect the freezing rate of the water. If the condenser coils are dirty or dusty, they may reduce the cooling efficiency of your refrigerator. To check the freezer temperature and the condenser coils, follow these steps:
- Check the freezer temperature setting on your refrigerator’s control panel. It should be between 0°F and 5°F (-18°C and -15°C) for optimal ice production.
- If the freezer temperature is too high, adjust it to a lower setting. Wait 24 hours for the temperature to stabilize.
- If the freezer temperature is too low, adjust it to a higher setting. Wait 24 hours for the temperature to stabilize.
- Check the condenser coils at the back or bottom of your refrigerator. They should be clean and free of dust or debris.
- If the condenser coils are dirty, unplug your refrigerator and use a vacuum cleaner or a soft brush to remove any dust or debris. Plug in your refrigerator and wait 24 hours for it to cool down.
Step 3: Check the ice maker switch and control arm
The next thing you need to do is to check the ice maker switch and control arm for your ice maker. The ice maker switch is located on the inside wall of the freezer compartment and controls the power to the ice maker. The control arm is a metal or plastic bar that hangs down from the ice maker and senses the level of ice in the bin. If either of these components is defective or out of position, your ice maker may not work properly. To check the ice maker switch and control arm, follow these steps:
- Make sure the ice maker switch is turned on. You should see a green light next to the switch. If the switch is off, turn it on and wait for 24 hours for the ice maker to start working.
- Make sure the control arm is not stuck in the up position. This position indicates that the ice bin is full and stops the ice production. If the control arm is up, gently lower it down and wait for 24 hours for the ice maker to start working.
- If the switch and control arm are in the correct position, but your ice maker is still not working, you may have a faulty switch or control arm that needs to be replaced.
Step 4: Check the water filter and the fill tube
The next thing you need to do is to check the water filter and the fill tube for your ice maker. The water filter is a device that removes impurities from the water before it reaches the ice maker and the water dispenser. The fill tube is a plastic or metal tube that delivers water from the water inlet valve to the ice maker. If either of these components is dirty, clogged, frozen, or damaged, your ice maker may not receive enough water or produce bad-tasting or cloudy ice. To check the water filter and the fill tube, follow these steps:
- Locate the water filter in your refrigerator. It may be located in the upper right corner of the refrigerator compartment, behind the base grille, or inside the water dispenser.
- Check the status of the water filter. It should be replaced every six months or according to your refrigerator’s manual. If the water filter is expired, dirty, or damaged, replace it with a new one.
- Locate the fill tube behind the ice maker. It may be covered by a plastic cap or a metal bracket.
- Check the condition of the fill tube. It should be clear and free of any ice or debris. If the fill tube is frozen, thaw it with a hair dryer or a warm cloth. If the fill tube is clogged, clean it with a pipe cleaner or a small brush. If the fill tube is cracked or leaking, replace it with a new one.
Step 5: Check the ice maker assembly and the dispenser
The next thing you need to do is to check the ice maker assembly and the dispenser for your ice maker. The ice maker assembly is a unit that contains the ice mold, the motor, the heater, and the ejector blades. The dispenser is a mechanism that delivers the ice from the bin to your glass. If either of these components is damaged or malfunctioning, your ice maker may not produce ice or dispense ice properly. To check the ice maker assembly and the dispenser, follow these steps:
- Inspect the ice maker assembly for any signs of damage or wear. You may need to remove the ice bin and the ice maker cover to access the ice maker assembly.
- Check the condition of the ice mold, the motor, the heater, and the ejector blades. If any of these parts are broken or worn out, you may need to replace the entire ice maker assembly.
- Inspect the dispenser for any blockages or jams. You may need to remove the dispenser cover and the dispenser chute to access the dispenser.
- Check the condition of the dispenser motor, the auger, and the solenoid. If any of these parts are broken or stuck, you may need to replace them or clear any obstructions.
Step 6: Perform a reset of the ice maker
The last thing you need to do is to perform a reset of the ice maker for your ice maker. A reset can help restore the normal function of the ice maker and clear any errors or glitches. To perform a reset of the ice maker, follow these steps:
- Turn off the ice maker switch and unplug the refrigerator from the power source.
- Remove the ice bin and dump any ice or water that may be inside.
- Locate the reset button on the side of the ice maker. It is a small and round button that may be hidden by a plastic cover.
- Press and hold the reset button for about 10 seconds until you hear a beep or a chime.
- Plug in the refrigerator and turn on the ice maker switch.
- Wait for 24 hours for the ice maker to resume its operation.
Step 7: Replace any defective parts if necessary
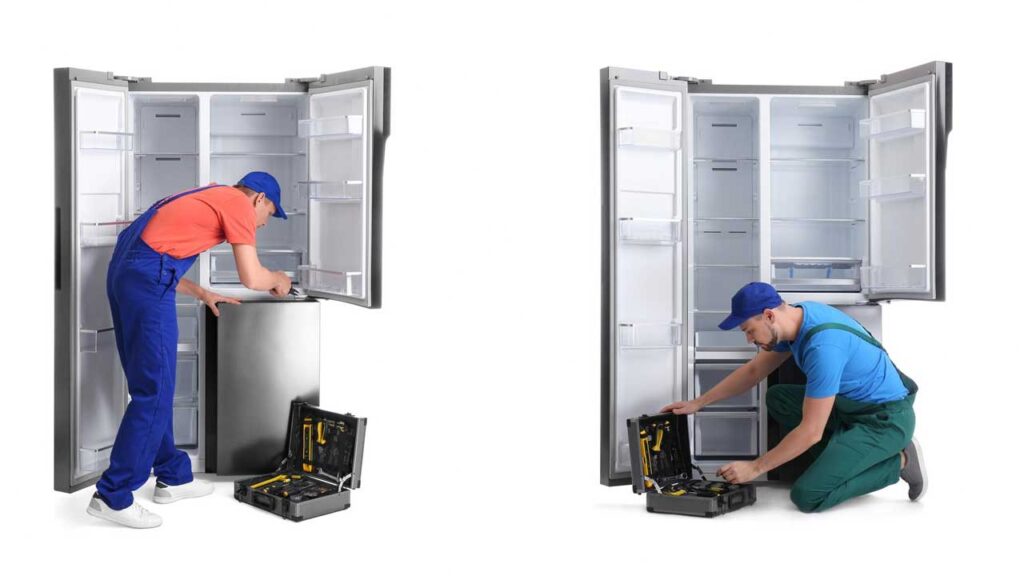
If none of the above steps solve your ice maker issue, you may have a defective part that needs to be replaced. You can order genuine Whirlpool parts from their official website or contact their customer service for assistance. You can also hire a professional technician to install the new part for you. Some of the parts that may need to be replaced are:
- The water inlet valve
- The water filter
- The fill tube
- The ice maker switch or control arm
- The ice maker assembly
- The dispenser motor, auger, or solenoid
How to prevent future problems and maintain your ice maker?
To prevent future problems and maintain your ice maker in good condition, you should follow some simple tips and practices. Here are some suggestions on how to keep your ice maker working well:
- Change your water filter regularly. The water filter should be replaced every six months or according to your refrigerator’s manual. This will ensure that your water is clean and free of contaminants that can affect your ice quality and damage your ice maker.
- Clean your ice maker periodically. You should clean your ice maker at least once a year or more often if you notice any dirt, mold, or mineral deposits. You can use a mild detergent, vinegar, or a special ice maker cleaner to remove any buildup and sanitize your ice maker.
- Defrost your freezer occasionally. You should defrost your freezer whenever you notice any frost or ice accumulation on the walls or around the vents. This will prevent any airflow obstruction and temperature fluctuation that can affect your ice maker performance.
- Check your water supply frequently. You should check your water supply for any leaks, clogs, or kinks that can reduce or interrupt your water flow. You should also make sure that your water pressure is adequate and consistent for your ice maker operation.
FAQ
Here are some frequently asked questions and answers about Whirlpool refrigerator’s ice maker issue:
Why is my Whirlpool refrigerator not making ice?
There are several possible reasons why your Whirlpool refrigerator is not making ice. Some of the most common ones are:
- The water supply is insufficient or interrupted. You should check the water shut-off valve, the water line, and the water filter for any leaks, clogs, or kinks that can affect the water flow to the ice maker.
- The ice maker switch or control arm is defective or out of position. You should check the ice maker switch and control arm for any damage or misalignment that can prevent the ice maker from receiving power or sensing the ice level in the bin.
- The ice maker components are faulty or damaged. You should check the ice maker assembly, the ice mold, the water inlet valve, and the ice dispenser for any cracks, leaks, or malfunctions that can affect the ice production or delivery.
- The freezer temperature or cycle time is out of range. You should check the freezer temperature and cycle time for any fluctuations or deviations that can affect the freezing rate or duration of the water.
How do I reset my Whirlpool refrigerator’s ice maker?
If your Whirlpool refrigerator’s ice maker is not working properly, you may need to reset it to restore its normal function. To reset your ice maker, follow these steps:
- Turn off the ice maker switch and unplug the refrigerator from the power source.
- Remove the ice bin and dump any ice or water that may be inside.
- Locate the reset button on the side of the ice maker. It is a small and round button that may be hidden by a plastic cover.
- Press and hold the reset button for about 10 seconds until you hear a beep or a chime.
- Plug in the refrigerator and turn on the ice maker switch.
- Wait for 24 hours for the ice maker to resume its operation.
How do I clean my Whirlpool refrigerator’s ice maker?
To keep your Whirlpool refrigerator’s ice maker clean and sanitary, you should clean it at least once a year or more often if you notice any dirt, mold, or mineral deposits. To clean your ice maker, follow these steps:
- Turn off the ice maker switch and unplug the refrigerator from the power source.
- Remove the ice bin and wash it with warm water and mild soap. Rinse and dry it thoroughly.
- Remove any ice cubes that may be stuck in the ice mold or dispenser. You can use a plastic utensil to gently pry them out.
- Mix a solution of one part vinegar and one part water in a spray bottle. Spray the solution on the ice maker components, such as the ice mold, the ejector blades, and the water inlet valve. Let it sit for about 10 minutes to dissolve any buildup or stains.
- Wipe off the solution with a soft cloth or sponge. Rinse with clean water and dry with a towel.
- Plug in the refrigerator and turn on the ice maker switch.
- Discard the first batch of ice that is produced after cleaning.
In this article, I have shown you how to troubleshoot your Whirlpool refrigerator’s ice-making issue. I have explained how to check the water supply and the water inlet valve, the freezer temperature and the condenser coils, the ice maker switch and control arm, the water filter and the fill tube, the ice maker assembly and the dispenser, and how to perform a reset of the ice maker.
I have also provided you with some solutions for some common ice maker issues and some tips on how to prevent future problems and maintain your ice maker in good condition.
I hope you have found this article helpful and informative. If you have any questions or comments, please feel free to leave them below. Thank you for reading!